 Arranging Elements on a Page
Just like decorating your home for a holiday gathering, everything on your page has a place. But sometimes you can have so much arranged, that if you add one more element suddenly the balance is off. Or maybe you thought of a better way to group things to save space or to draw attention to an area. Or did you get "carried away" in the design process and have so much stuff piled up, you can't even reach the ones on the bottom.
Besides the click-and-drag method, Artisan equips you with several tools to help you arrange and re-arrange elements on a page:
- Elements Panel—an area of the screen dedicated to ordering your elements
- Arrange menus—a section of the Home ribbon dedicated to arranging elements
Working with the Elements Panel
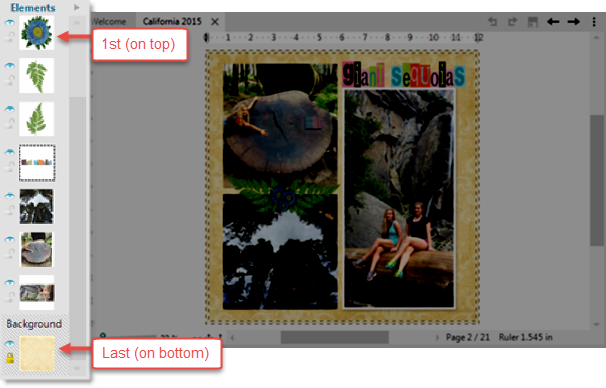
The area to the left of the workspace called the Elements Panel and lists every element that you have placed on the page.

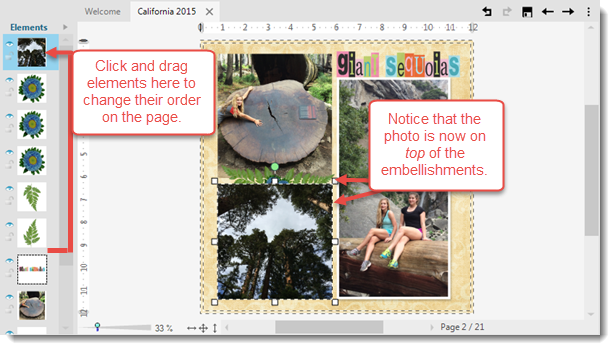
Just like placing decorations on a party table, elements are ordered—something is always on top of another thing. Even if the elements look like they are side by side on the page, Artisan recognizes their order according to the order you inserted them. The Elements Panel lists things in descending order. The last thing you placed on the page is at the top of the list. All the way at the bottom, naturally, is the background.
You can re-order elements in the list and their order will change on the page, and vice versa.

Elements Panel Icons
![]()
| Icon | Function |
|---|---|
| Eye |
Click to hide or unhide the element on the page. The element will still remain part of the project. This is helpful for getting an element out of the way temporarily while making adjustments to another. |
Lock

|
Click to lock or unlock an element on the page. Elements that are locked cannot be moved or edited. This is helpful for avoiding unintended adjustments to an element. |
Working with Arrange Menus
The Arrange section of menus appears on the Home ribbon.


